How to Use Office 365’s Troubleshooting Tools to Fix Common Problems
If you’re experiencing trouble with your Office 365 installation or issues with specific Office apps, Microsoft offers two automated tools that may be able to help you troubleshoot and repair your problems.
The first tool–the Office Repair wizard–is more limited in what it can do, but it’s available to all users of Office 365 Home or Business. The second tool–the Office 365 Support and Recovery Assistant–is much like the old Office Diagnostics tool you may remember from Office 2007. It covers more problems and hooks into online support resources better, but unfortunately is only available to users of Office 365 Business.
All Office 365 Users: Repair an Office Installation from the Control Panel
Whether you’re using Office 365 Home or Business, you can try to repair an Office 365 installation by re-running its Setup program from the Control Panel. It isn’t as good at solving specific problems–especially with Outlook–as the troubleshooting tool that business owners can use, but it is good at helping to resolve installation problems and often for fixing individual Office programs that won’t start or keep crashing on you. It can also help resolve issues that poorly-written add-ins can sometimes cause.
You can choose one of two options when you perform a repair:
- Quick Repair. This type of repair goes pretty quickly, but it only tries to detect and replace any corrupt files in your Office installation–similarly to what the System File Checker tool does for Windows.
- Online Repair. This type of repair actually uninstalls and reinstalls Office. It takes longer to run and requires an internet connection, but it performs a more complete repair job.
The online repair option is pretty good about keeping your preferences in place–and it won’t affect any of your documents–but we recommend trying the quick repair first and then using the online repair if your problem isn’t resolved.
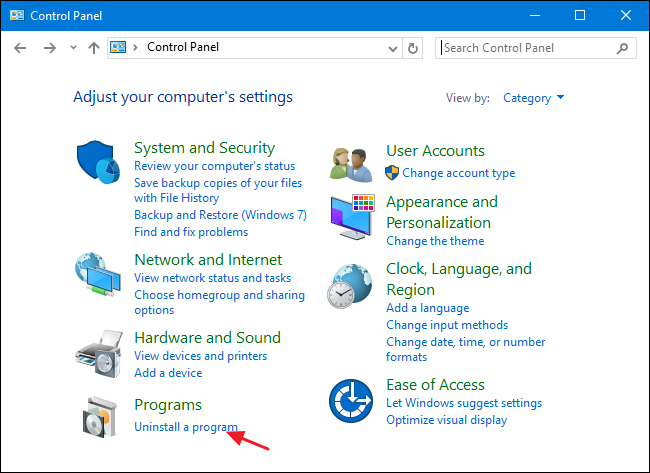
Before you get started, go ahead and save any open Office documents and then close all your Office programs. When you’re ready, click Start, type “Control Panel,” and then hit Enter or click the result.

In the Control Panel window, click the “Uninstall a program” link.
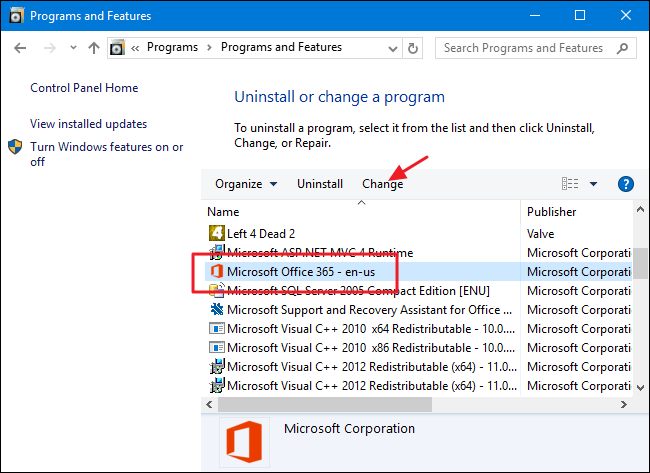
In the Programs and Features window, select your Office 365 installation from the list and then click “Change” to open the repair wizard.
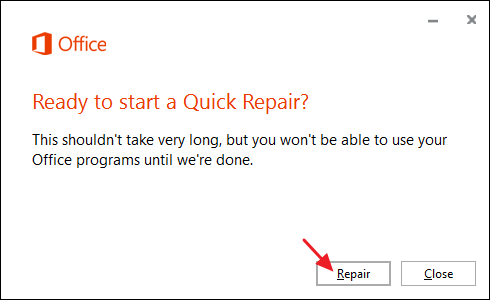
Select whether you want to run a quick or online repair and then click “Next.” For this example, we’re going to be running a quick repair, but the process is pretty much the same no matter which option you pick.

Click “Repair” to start the repair process.
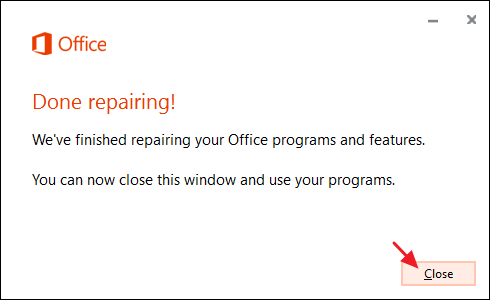
The wizard will close any Office programs that are still open and will then begin scanning for and replacing corrupted files. It should only take a few minutes. When it’s done, click “Close.”
You can now test your Office apps to see if your problem has been fixed. If you’re still having issues after running a quick repair, go ahead and try the more thorough online repair. It will take some time, since it has to uninstall Office and re-download the installation, but it should get you fixed up if the quick repair doesn’t.